Security
Okta SCIM
Setting up Okta to automatically provision and deprovision Chalk users.
Chalk implements SCIM in order to allow external identity providers (IDPs) to automatically provision and deprovision users as they are added and removed from the external identity provider.
Supported Features
- IDP-initiated user provisioning
- IDP-initiated user deprovisioning
- IDP-managed group assignment
Requirements
-
Configure Chalk to use Okta SAML for authentication
-
Configure the Okta Chalk SAML app to use SCIM for provisioning.
Configure Okta SCIM
Set up SCIM in Chalk
- Open the Projects page in the Chalk dashboard. You can also get there by clicking the Chalk logo in the top left of the page.
- In the team navigation, select Single Sign-On, then open the SCIM (access control) tab.
- Click Generate SCIM token and store the token securely. Generating the first token enables SCIM for your team.
- Copy the SCIM Connector Base URL.
The base URL is https://api.chalk.ai/scim/v2 for Chalk-hosted deployments. For an air-gapped
deployment, use the URL shown in your dashboard.
Set up SCIM in Okta
- Open the Okta admin dashboard and edit your Chalk SAML app.
- Configure SCIM with the following settings.
- SCIM Connector base URL: The SCIM Connector Base URL you copied from Chalk
- Unique identifier field for users:
email - Supported provisioning actions:
- Push New Users
- Push Profile Updates
- Push Groups
- Support provisioning to app:
- Create Users
- Update User Attributes
- Deactivate Users
- Authentication Mode: HTTP Header. Set the Bearer header to the SCIM token you generated in Chalk.
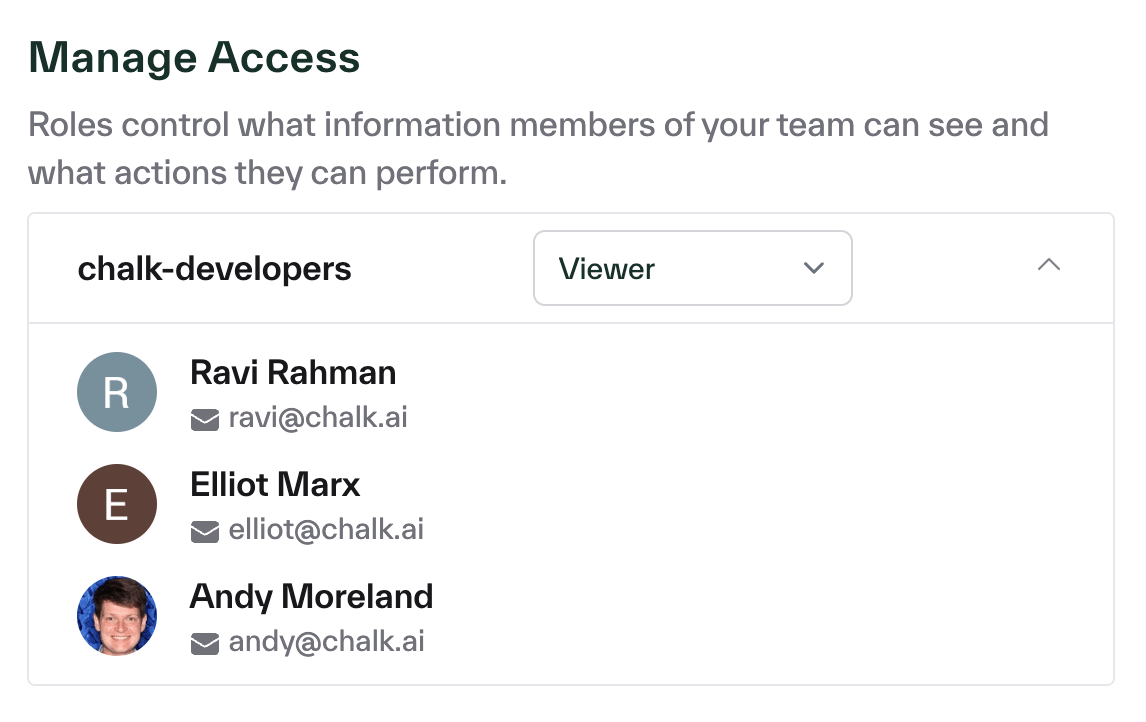
- After the Okta groups sync, assign Chalk roles to them.